
How To Make Stickers To Sell?
Stickers have swiftly become a cultural phenomenon and transformed simple decorations into a thriving industry.
This article aims to illuminate your path through this sticker-studded landscape, where making and selling your own stickers can turn into a prosperous endeavor.
In This Article
- Types of Stickers You Can Make
- Die-Cut vs Kiss-Cut Stickers
- Tools and Supplies Needed to Make Your Own Stickers
- Step-by-Step Guide to Make Stickers
- How to Sell Your Stickers?
Types of Stickers You Can Make
The sticker material dictates what type of sticker that needs to be created. There’s a range of materials that are commonly used for creating colorful stickers. Some key sticker types sold in the market are:
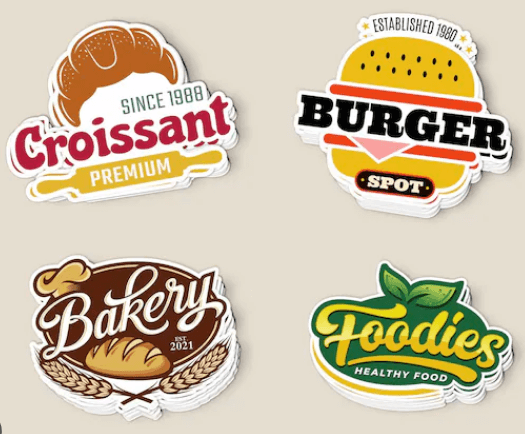
1. Paper Stickers

Paper stickers are the most common and affordable type of stickers. They come in various finishes, including matte, glossy, and semi-gloss. Being simplistic, they offer good print quality, which makes colors and details pop.
Due to their versatility and cost-effectiveness, paper stickers can be used for a variety of applications such as envelope seals, name tags, product labels, and promotional giveaways.
Paper stickers are not water or weather resistant, which makes them less durable compared to vinyl or other types of stickers. They may wear off easily when exposed to harsh conditions. That’s why they are not suitable for outdoor use.
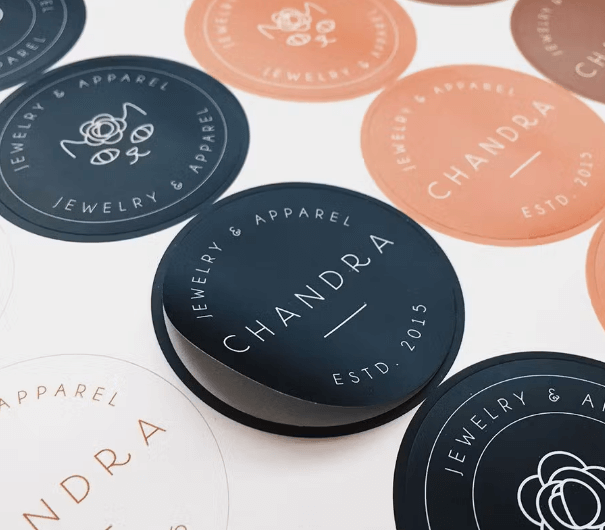
2. Vinyl Stickers
Customized Vinyl Stickers ©Etsy
Vinyl stickers are made from PVC and have a shiny surface that can make colors appear more vibrant. Though they are tough and more durable than paper stickers, they are not inherently waterproof. They are usually coated to offer some degree of water and UV resistance.
Vinyl stickers are ideal for product labels, marketing materials, or any application where a shiny and attention-grabbing effect is desired. However, they can show fingerprints and scratches more easily than their matte counterparts.
3. Matte Stickers
Matte Stickers ©PrintMarket
Matte stickers have a non-shiny surface that provides a more subdued and professional appearance. They are easier to write on than glossy stickers. The matte finish makes them perfect for applications that require a more sophisticated or understated look, such as business stationery, envelope seals, or planner stickers.
However, matte stickers are termed giant ink absorbers since their printing consumes much more ink compared to other materials. Also, colors might not appear as vibrant on matte stickers, and they are also allergic to water, a drop of water could ruin them!
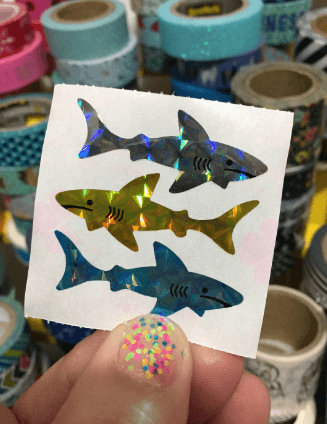
4. Holographic Stickers
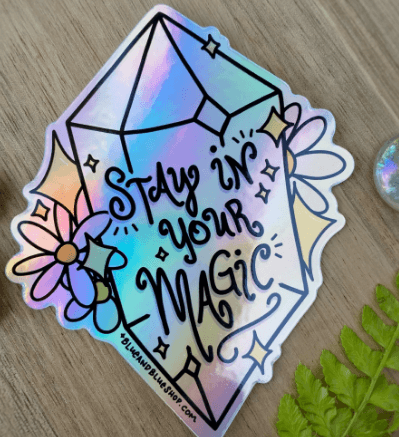
Holographic Sticker ©BlueandBlue
Holographic stickers, a newcomer in the sticker family, have a rainbow effect that changes depending on the viewing angle and light. They are most waterproof and UV resistant.
Due to their aesthetic looks and water resistance, they are great for decorative purposes, product labels, or promotional stickers as they stand out and give a futuristic appeal. Albeit, holographic stickers are slightly more expensive than other options and their shiny surface can sometimes create glare.
5. Mirrored Stickers
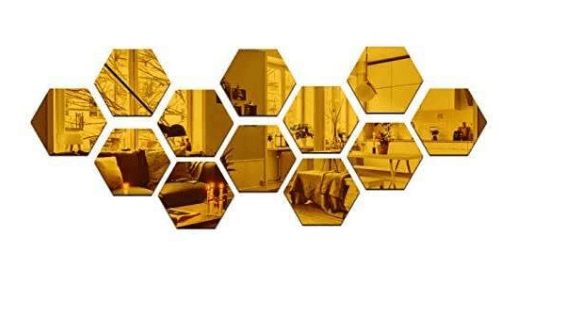
Holographic Sticker ©BlueandBlue
Mirrored stickers have a highly reflective, mirror-like surface. They are typically waterproof and scratch-resistant. This makes them ideal for decorative purposes, craft projects, or any application where a shiny, mirror-like appearance is desired.
Just like vinyl stickers, they can show fingerprints and scratches easily. So, they are not recommended for applications requiring a more subdued look.
6. Holographic Glitter Stickers
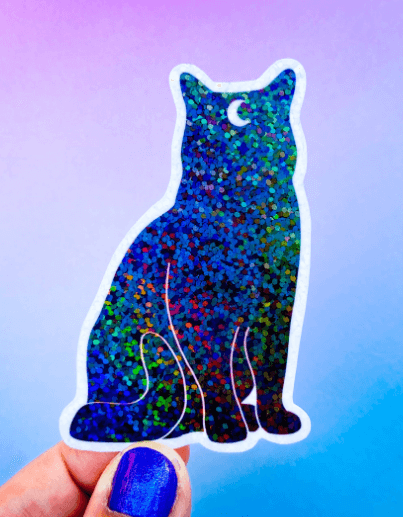
Holographic Glitter Sicker ©TheLeatherQuillShoppe
These stickers combine the holographic rainbow effect with glitter, resulting in a sparkly, eye-catching finish. They are perfect for craft projects, decorative purposes, or any application that calls for a bit of sparkle.
However, like other shiny options, they scratch easily and may create glare. Additionally, their design might not be suitable for all applications.
7. Prismatic Stickers
Prismatic Stickers ©Etsy
Prismatic stickers feature a unique pattern that refracts light to create a prism or rainbow effect. They are a perfect choice for safety stickers, automotive applications, or any use where high visibility is required.
Although they are eye-catching, their distinct look is not suitable for every application. And at times they can be more costly than paper stickers.
8. Clear Stickers

Clear Sticker ©XOXOKristen
Clear stickers are transparent, which allows the color of the surface they are applied to show through. They can be used for window stickers, product labels, or situations where you want the sticker design to blend seamlessly with the underlying surface. Being transparent, they might not stand out as much on cluttered or multi-colored surfaces.
Die-Cut vs Kiss-Cut Stickers
When it comes to cutting styles, there are two primary types: kiss cut and die cut.

Kiss and Cut-Designs ©Medium
Die-Cut Stickers
Die-cut stickers are tailored to the precise contour of your design, cutting through both the vinyl sticker material and the paper backing. This results in individual, borderless stickers that provide a clean, professional look.
Their unique shapes offer a versatile display and add personality to your branding. This makes them perfect for everything, from marketing initiatives to special artwork displays.
Kiss-Cut Stickers
Kiss-cut stickers involve cutting only the vinyl layer, not the paper backing, leaving an edge or border around your sticker. This method provides an easy-peeling experience and highlights important information with a framing effect.
These stickers are excellent for bulk ordering and easy storage, making them a go-to choice for large projects and businesses that need efficient sticker solutions.
Tools and Supplies Needed to Make Your Own Stickers
If you want to make your own stickers to sell, it requires more than just a keen eye for design and a passion for creativity. You will need several essential materials and pieces of equipment.
1. Sticker Paper
Sticker paper forms the base of your product. Depending on the type of stickers you wish to create, you may choose between vinyl, clear, glossy, matte, or even waterproof sticker paper.
2. Design Software
Whether you’re a novice or an experienced designer, you will need graphic design software to bring your sticker ideas to life. Adobe Illustrator and Canva are popular choices for professionals while beginners can try using free online sticker tools like Canva.
3. High-Quality Printer
If you want your stickers to be as good as your designs, you need an exceptional printer. A printer that handles high-resolution prints, and is compatible with the type of sticker paper you are using.
Two options are commonly available for sticker printing-laser and inkjet printers. Inkjet printers are common and affordable for making high-quality image stickers. They produce high-quality images, however, they have slow printing speeds, making them suitable for small businesses. For stickers with textual information, laser printers are a great solution. They are high-speed printers, making them suitable for those who need a much large sticker volume.
Overall, inkjet printers are considered best as they can handle all types of sticker materials. Hp Envy Wireless, Cannon Pixma IP870, and Epson XP6000 are some top models to consider for sticker printing.
4. Cutting Machine
A high-quality blade-cutting machine is crucial to ensure precise cuts and minimize wastage. Machines like the xTool M1 Ultra come with sharp, durable blades and versatile crafting abilities, including inkjet printing, laser cutting/engraving, and drawing, allowing you to make stickers from the start to finish with the same machine. You can print and then cut stickers.

Step-by-Step Guide to Make Stickers
In this section, we'll walk you through the process of making stickers with xTool M1 Ultra.
Step 1: Set up the Machine

First, put the Inkjet printing module into the machine. Then place the cutting mat inside the machine, which helps to keep the sticker paper stable during the process. Finally, put the sticker paper on top of the cutting mat. Here, we're using a white matte sticker paper.
Step 2: Prepare the Design
You can either design your own or download online images. M1 Ultra's specialized software, XCS, features AI image generation, which allows novice designers to create images with a few simple prompts.
Step 3: Adjust the Printing and Cutting Settings
Connect the machine with the software, XCS. Move the module to mark the printing area and it will then be shown on the software.


Import your designs and drag them into the processing area.

Select "Multi-modual processing" from the Mode dropdown list. And choose sticker paper as the material. This provides recommended printing and cutting settings.


By selecting the "ink module", the recommended printing settings show up.

Next, you will need to set the cutting outlines for stickers. You can adjust the offset value as per your needs. Finally, select the "fine-point blade" module to adjust the cutting settings.


Step 4: Printing and Cutting Process
Now you're all set to initial the printing and cutting process. Click the start button, the machine will first complete printing sticker designs and then switch to the cutting process automatically.

Sit back and wait for the process to finish.

How to Sell Your Stickers?
Turning your creative designs into beautiful stickers is one thing; making a profit from selling them is another. But before that, you need a place to sell stickers.
Online Platforms to Sell Stickers
It’s a digital era, so consider building an online store, be it a personal website or a marketplace store. Some online platforms to sell stickers include:
Etsy
Etsy is a global marketplace for unique and creative goods, including stickers. It’s a popular platform for independent artists and crafters. As per their latest trends, ‘sticker’ was the eighth-most searched keyword in November 2024.
One of the advantages of Etsy is its large customer base that appreciates handmade and unique items. However, note that Etsy charges listing and transaction fees.
Amazon Handmade
This platform is Amazon's response to Etsy, allowing artisans to sell their handmade products to a global market. It comes with the credibility of Amazon’s brand and a vast customer base. However, there is a rigorous application process to ensure the platform remains exclusive to artisans.
Personal Website
If you would like more control over your brand, customer relationships, and profits, consider selling your stickers on your own website. You can use platforms like Shopify or Wordpress to easily set up an online store.
Tips for Marketing Your Stickers
Let’s talk marketing. It’s a big word that can sometimes feel intimidating, but it doesn’t have to be. Marketing is communicating the right message, to the right people, at the right time. It is how you make your stickers stand out in a crowd.
Here’s how you can go about it:
Social Media Engagement
Picture this. You have got a handful of exquisite sticker designs. They are unique, vibrant, and ready to peel and stick their way into the world. But how do you get them out there?
Enter social media. Instagram, Pinterest, and Facebook are the perfect platforms to showcase your creative skills. You don’t just have to post stickers. Engage with your audience. Show the 'making-of' process, share customer photos, and run contests - make it fun!
Mastering SEO
If you have ever typed something into Google and clicked on one of the first few results, you have been influenced by SEO. Search Engine Optimization (SEO) is all about making your stickers 'findable' either on your business store, social media, or e-commerce marketplaces.
If you are on Etsy or Amazon, incorporate keywords- words people might use to find stickers like yours - in your product titles and descriptions. If you have got your website, follow diverse SEO strategies, like creating a blog section where you share sticker ideas and designs. Also, consider hiring an expert to devise an SEO campaign to market your products.
Collaborations and Partnerships
Remember that old saying, “Two heads are better than one”? It applies to sticker selling, too! Teaming up with fellow artists, influencers, or even brands can introduce your stickers to a whole new audience.
Imagine your stickers being featured on a popular blog, or included in a giveaway with other cool products. The possibilities are endless, so start reaching out!
Setting Price for Your Stickers
Now, it’s time to about finances money. How much should you charge for your stickers? It’s a tricky question, but here’s a basic roadmap:
Crunch the Numbers
First things first, you have got to understand your costs. That means everything from the sticker paper and printer ink to the time you spend creating your designs. And don't forget any selling fees or commissions if you’re using a platform like Etsy or Amazon.
Check Out the Competition
Next, do a little snooping. Find out what similar stickers are selling for. This will give you a ballpark figure for what customers are willing to pay.
Don't Sell Yourself Short
This is your art, your hard work, your business. Make sure you are making a profit on each sale. Don’t just cover your costs, but create an income source for yourself.
Experiment and Adjust
Don't be afraid to play around with pricing. Maybe you start a little lower and raise prices as you build a customer base, or perhaps you offer discounts for buying multiple stickers. Find what works for you and your customers.
For more questions, please join our community to get inspired!

