How to Make a Puzzle with a Laser Cutter [with Video]
Have you ever wondered making a puzzle of your own, one that captures your favorite image, or a scene that sparks joy? Our guide today is aimed to empower you to transform those ideas into tangible pieces of artistry.
However, this isn't just any puzzle-making guide; we are diving into the innovative sphere of laser cutting technology to produce an exceptionally designed, one-of-a-kind laser cut puzzle.

Tools and Materials Needed
Laser Cutter
In this guide, we will use xTool M1 laser cutter to make a puzzle. You also need the laser cutter software that is compatible with your laser cutter.
Plywood
Plywood is the only material you will need. There are many types and thicknesses of plywood to choose from, but 3mm basswood plywood is an excellent option to go with.
Keep in mind that you need two pieces of plywood of the same size. One will be the cut jigsaw puzzle, and the other will be used for its base.
Glue Gun
A glue gun is a must to stick the outline of the jigsaw puzzle and the base. You can also use wood glue if you don’t have a glue gun.
Color Paint
If you want to make the puzzle eye-catching, it is a must to paint it. You can use any paint you like, such as spray paint, acrylic paint, etc. But it is better to use paint pens if you want to stay away from the mess.
Step-by-Step Guide to Make a Laser-cut Puzzle
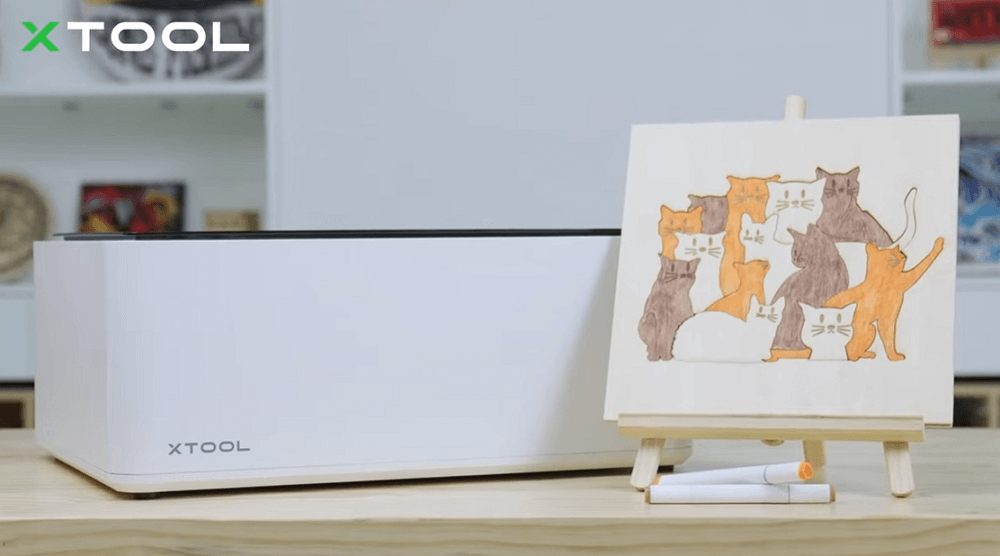
Once you have all the materials and things you need, it is time to use the machine. Follow the steps carefully to get an error-free laser cut wood puzzle in one go. We are making a cute cat jigsaw puzzle that cat lovers and children would love to have.
Step 1: First, you need to set up the machine. Place the triangular prisms on the base plate of M1. It will improve the ventilation process. After that, place the 3mm basswood plywood carefully on the prisms.
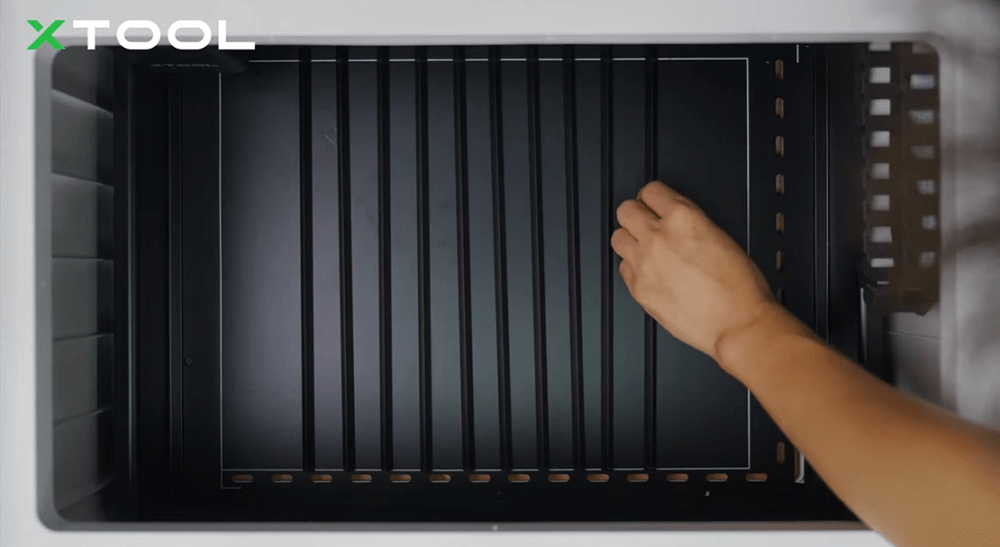
Step 2: Connect the exhaust pipe or smoke purifier to the machine. Then, connect the machine to the computer. Turn on the machine.
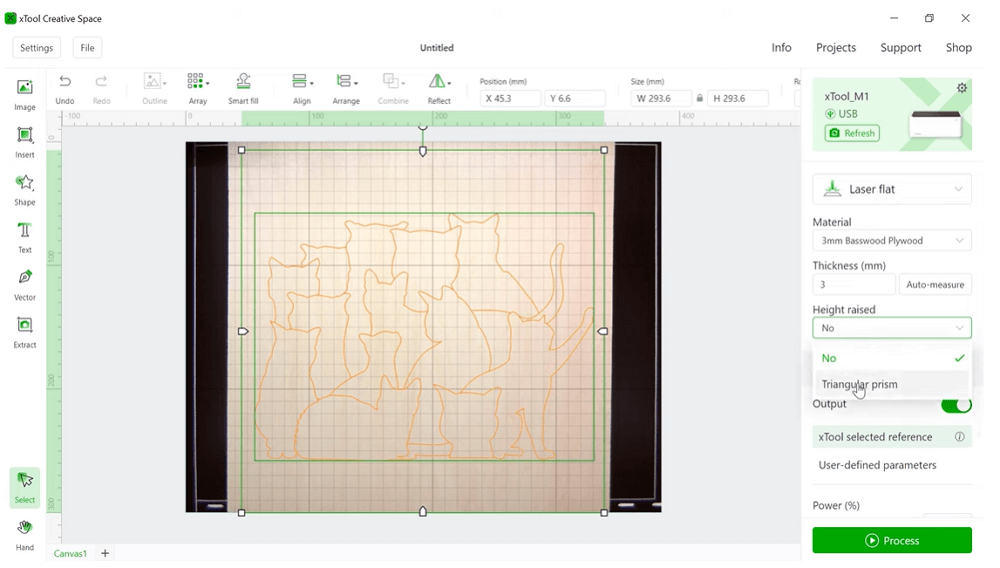
Step 3: Open XCS on your computer/laptop. Make sure the machine is connected. Import the cat puzzle's laser cutting outline to the software. Adjust the design over the wood by looking at the live preview.
RELATED: find free laser-cut puzzle files.
Step 4: Select the 3mm basswood plywood from the "Material" dropdown and set the height raised to Triangular Prism. Click on Cut. There is no need to select settings manually because M1 sets the optimal settings when you select the material.
Step 5: Import the engraving file, which is for the cats' facial expression. It is an image or raster graphics. Place it over the outline. All images are set for engraving by default, and as you have selected the material, there is no need to adjust the settings. Just make sure to set the sharpness to the max.
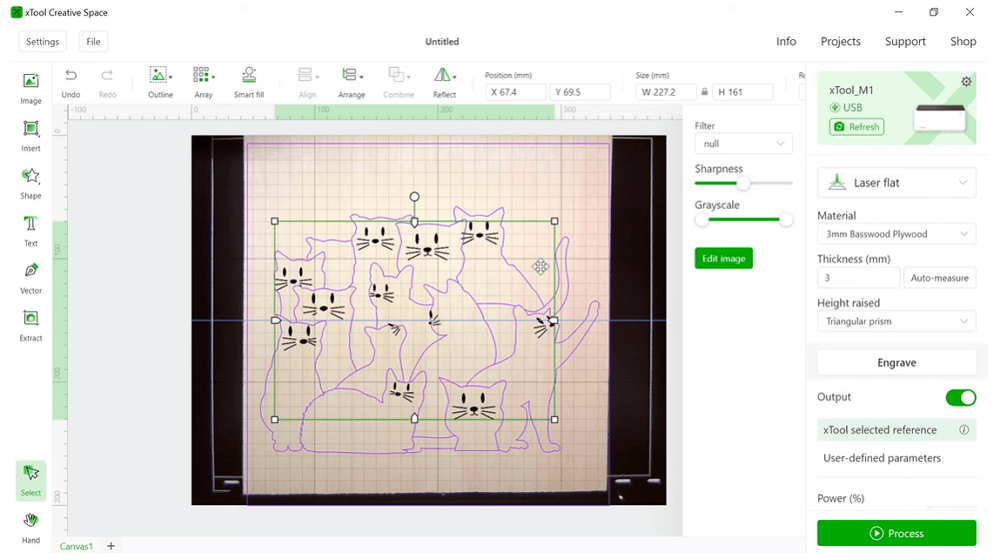
Step 6: Before engraving, you can adjust the size of the whole puzzle. Select everything and adjust the size. Click the Process button. Click Framing if you need to check the outlines, but there is no need for that as you have the live preview. Finally, click the Start button and press the button on M1.
Step 7: The machine will start its job. Once everything is ready, take out the puzzle from the engraving area. It is time to paint the puzzle. You can use any kind of wood color to make your puzzle more appealing. Apply hot glue at the sides of the plane basswood sheet and place the puzzle outline over it. Let the glue dry.
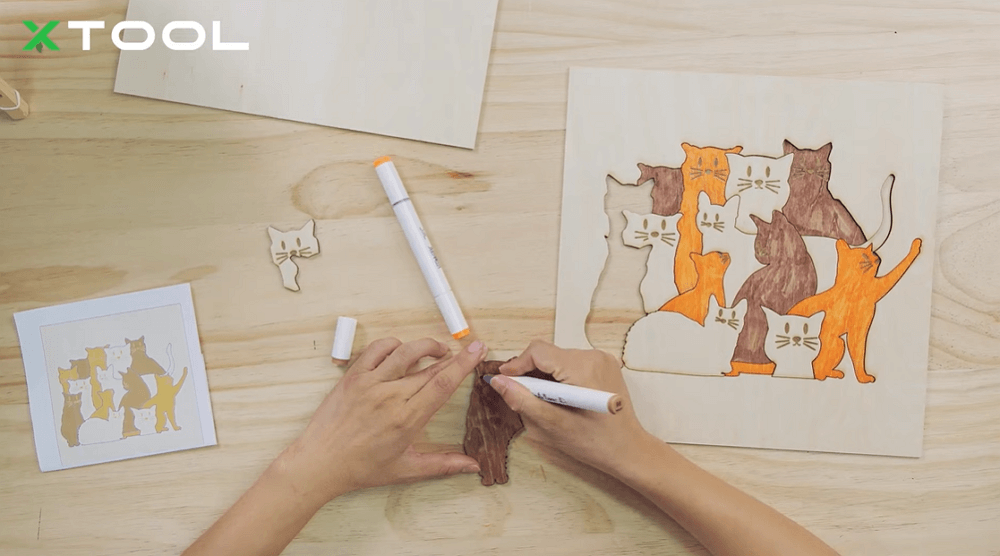
Tada! Your laser cut puzzle is ready.
