How to Print on Metal?
Interested in designing and printing on metal? It’s not as daunting as it seems. Metal may not be as thin and pliable as paper, but with the right tools, you can print virtually anything on it. Many assume it is more complex than printing on paper, but that’s not always true.
Today’s compact machines have made metal printing more accessible than ever. In this article, we will explore two techniques that simplify the art of printing on metal.
In This Article
- Method 1: Laser Printing on Metal
- Method 2: Screen Printing on Metal
- Creative Ideas and Applications of Metal Prints
- Conclusion
Method 1: Laser Printing on Metal
Laser printing on metal sheets is similar to printing designs on paper. You insert a piece of paper in the printer and then provide a design to print on it. In a similar way, a desktop laser engraver, using your special engraving design, moves across the metal substrate and vaporizes the metal, leaving a permanent mark.
Engraving often leaves dark and black prints on most materials. However, metal supports color laser engraving. It happens due to the natural oxidation of protective oxide layers in some metals. In some cases, you may also add a colored oxide layer to achieve similar results.

Materials Needed for Metal Laser Printing
To laser print on metal, make sure you have these tools:
A Suitable Metal Sheet: All types of coated and non-coated metals, including stainless steel, copper, brass, and aluminum are suited for laser engraving.
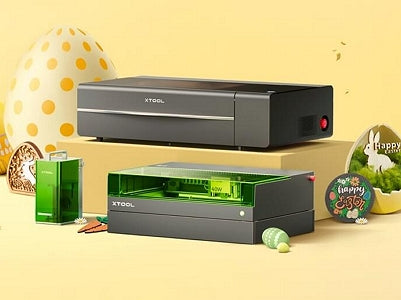
Laser Engraver: Desktop laser engravers come with different types. Among them, the fiber and infrared lasers engrave all types of metal. However, for DIY projects and small business, you may prefer an infrared laser engraver. You can consider the portable engraver, xTool F1, and the powerful one, xTool S1.

How to Laser Print Metal? A Step-Wise Procedure
After you have the tools, you can start laser printing. These steps will guide you to achieve your desired results:
1. Get a design file – a simple grayscale image for engraving the design. And import it into the laser engraver software. Simple lettering designs can be made within the laser engraver software, XCS.
2. Ensure the metal is clean before placing it inside the laser engraver. If your machine has manual focus adjustment, make sure to adjust the laser focus accordingly.
3. Open the XCS software. Select ‘laser flat’ mode for flat surfaces. If you're working with a cylindrical object, switch to ‘laser cylindrical’ mode. You’ll also need a rotary attachment for that.

4. Enter the thickness or diameter of your metal in the software. This helps the machine adjust the laser head for the right engraving depth. Some machines also have a manual knob for height adjustment.
5. Drag your design into the software. Configure the settings as they affect the engraving's appearance. For xTool laser machines, follow these recommended settings for best prints.
6. Before you start engraving, test the laser path. Use the framing feature of xTool laser engravers to preview the laser path. Make changes if the material isn’t positioned correctly.
7. Once you’re happy with the setup, hit the start button. Engraving might take a few minutes. For deeper engravings, multiple passes might be necessary, but usually, a couple of passes suffice for simple designs.

8. After engraving, clean the metal surface to remove any residues or debris from the process.
Method 2: Screen Printing on Metal
Screen printing is the oldest printing that works on most materials including metals. In this process, ink is transferred to a stencil onto the metal, which creates a sharp, vibrant, and vivid design.
Unlike printing on fabric, screen printing on metal requires specific inks and preparation due to the non-absorbent nature of metal surfaces. However, this method does produce durable, high-quality prints on metal objects.
Materials Needed for Metal Screen Printing
For screen printing on metals, gather these materials. We have left some recommendations on types of metals and inks, make sure to use the one that matches your use case.
Metal Substrate: When picking a metal sheet, you need to be aware of its coating as it affects the results of screen printing. Typically, metals have a thermoplastic or thermoset coating.
Thermoplastic coatings air dry rather than chemical bonding with the surface. So, they are soft and ink-absorbant. However, adherence with metal isn’t strong, which is why often they peel off earlier.
In contrast, thermoset finishes are baked for proper setting to the metal. They offer enhanced durability and resistance to scratches and heat. They are ideal for screen printing.
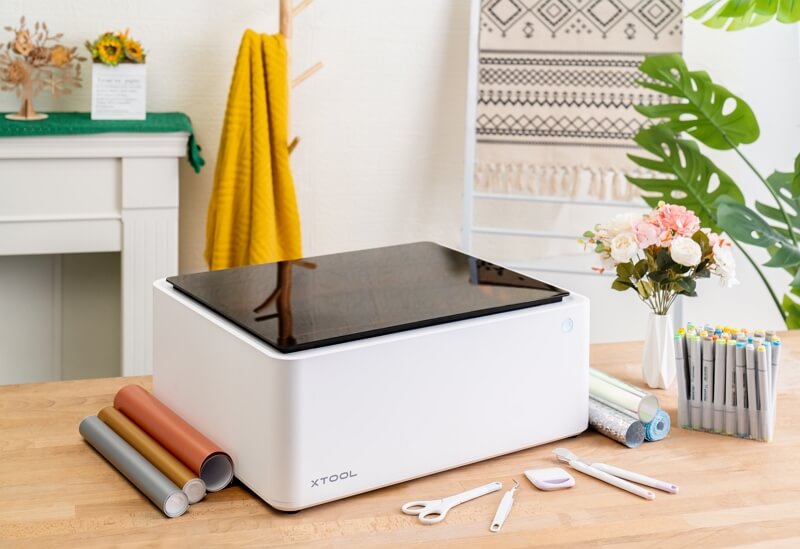
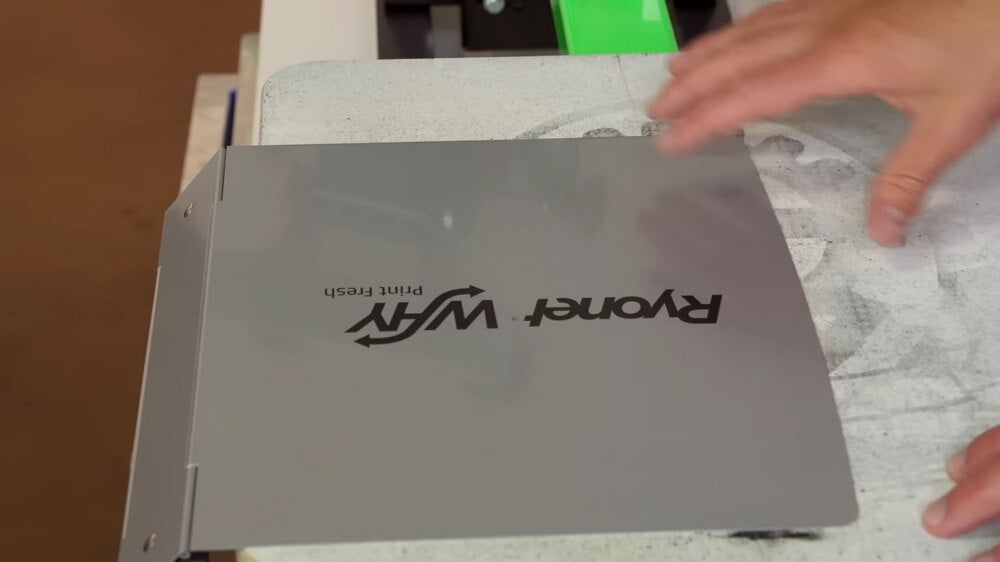
A Screen Printer: You need a machine to clamp the metal sheet and place a stencil over it. In this regard, the xTool screen printer is an excellent option. The best part: it comes with all screen printing accessories right out of the box.

Silkscreen or Vinyl: For screen printing, you need a design stencil. The traditional method, which requires emulsifying and drying a photosensitive film, is long and tedious. You have two alternate options: either you can use the modern xTool method, where you laser engrave a pre-coated screen to form a stencil, or cut a vinyl sheet to form a stencil.
Printings Inks: Inks for metal screen printing are different from fabric printing. Here, we use solvent-based inks. They further have many types:
Air-dried inks are the most common for metal screen printing. They don’t need much time to dry and are ideal for outdoor projects.
Heat-cured solvent inks need to be baked, but this makes their adhesion strong. They are available as enamels, polyesters, and epoxies. They are a durable choice for outdoor applications.
UV-cured inks are less common. However, they are now gaining popularity due to their adhesive nature and scratch resistance.
Laser Engraver: For quick screen printing, you will need a laser engraver that efficiently engraves a complex design onto a coated mesh screen. Diode laser engravers are cost-effective and best for this job.
Vinyl Cutter: If you’re following the vinyl path, you need a vinyl cutter. Fortunately, we offer a tool that does both jobs, xTool M1. It is the world’s first hybrid laser engraver and vinyl cutter. If you get that, you can easily test both methods.

How to Screen Print Metal? The Complete Process
Screen printing on metal is slightly different from screen printing on fabrics, but with the right steps and technique, you can get the desired output. Make sure you follow the steps:
1. Create or import your design into the laser engraving software. If using a vinyl stencil, prepare a design file for vinyl cutting.
2. Stretch a pre-coated screen onto the frame of your xTool screen printer. Use the laser engraver to add design onto the screen. Alternatively, cut the vinyl sheet according to the design.

3. Place the metal substrate onto the xTool screen printer. Make sure it is properly aligned for accurate printing. Insert the engraved stencil onto it with a little space in between.
4. Pour the ink onto the top of the screen. Using the squeegee, evenly spread the ink across the screen with firm, consistent pressure. For best results, use a pulling motion across the screen to transfer the ink onto the metal substrate. Make sure it’s at an inclined angle.

5. If printing with multiple colors, complete the process for one color first and allow it to dry completely before applying the next color.

6. After completing the printing, promptly clean the screen to remove any excess ink. After the ink dries, it’s quite hard to remove it.
7. You may perform a scratch test to check if the ink has properly adhered to the metal sheet.
Creative Ideas and Applications of Metal Prints
Now that you’re familiar with both metal printing techniques, let’s explore applications where these methods are in use or could be used.
Metal Sign Boards

Screen printing can be used for crafting vibrant, eye-catching signs for businesses or quirky, personalized plaques for home decor. The color, vibrancy, and durability of the process make it perfect for outdoor and indoor signs.
Wall Art
Both laser metal printing and screen printing open up a world of creativity for wall art. With laser printing, you can etch intricate, detailed designs onto metal. Think of laser-etched family crests or abstract geometric patterns that catch the light.
Whereas, with screen printing, you can make bold, colorful creations on metal canvases. Imagine vibrant pop art pieces or large-scale, multicolored murals that transform a room.
Customized Metal Accessories

For customizing metallic accessories, there’s nothing better than metal engraving. You can etch different designs to key chains, add brand logs to luggage tags, or even add photos to dog tags. Colored design patterns are also a possibility with laser engraving.
Registration Plates

Seen those license plates? Most of them are made through screen printing. Since the colors are vibrant – noticeable from a distance – and durable – resist heat and weather conditions, screen printing is an excellent option here.
Conclusion
Compared to the past, metal printing has become much easier and time-efficient now. With xTool laser engraver and xTool screen printer at your disposal, you have the opportunity to create and customize a range of metal accessories.
Get these tools, start your crafting journey, and become a part of the creative xTool community.


