Best Wood for Laser Cutting and Engraving
The age-old practice of wood cutting has transformed with the advent of laser cutters. But can lasers handle every wood type as easily as mechanical tools? The answer is nuanced. Each wood type has different characteristics and behaves differently when it interacts with a laser.
This article aims to introduce you to the best wood for laser cutting and engraving. We’ll also share factors you need to look into before choosing a wood.
In This Article
- Factors to Consider When Choosing Wood for Laser Cutting
- Best Wood for Laser Cutting
- Woods to Avoid or Use with Caution for Laser Cutting
Factors to Consider When Choosing Wood for Laser Cutting
As mentioned, the types of wood differ based on their color, texture, and certain characteristics. Before we on to those types, you need to be aware of the things that may affect the laser friendliness of the wood.
Resin: All wood types inherently have resinous fiber, which prevents their biodegradation. This resin dictates how the final cutting and engraving results would look.
Woods with a low resin content will produce lighter, crisper engravings. Whereas woods with a high resin content will result in darker cuts. Choose wisely based on the results you need.
Wood Grain: The grain is one of wood’s most defining characteristics. The grain pattern can be beautiful and is often the reason we’re drawn to certain wood types, albeit it can also interfere with the clarity of laser engravings.
When the grain pattern is too pronounced, it can overshadow the engraving, making it less readable. So, for laser engraving projects, select wood with a consistent grain pattern.
Shade/Tone: Wood is available in different shades. Interestingly, this tone has a role in engraving results. We recommend you choose lighter hues as they offer better contrast after laser engraving. While darker tones, which are visually appealing, can be used for crafting items where simple cutting is needed and wood itself is prominent.
Moisture: Laser precisely burns the wood, which can leave burnt marks after the cutting/engraving operation. These burnt designs can detract from the overall appearance. To mitigate this, one effective method is to make the wood weet before cutting. The moisture cools the wood during laser operation and cutting gets better.
Knots: Knots and growth rings are natural features of wood, which are a result of its growth patterns over the years. They do look good, however, they may affect the engraving results. However, if your project desires a more natural feel, then you don’t have to worry about this aspect.
With mechanical tools, you may cut a several-inch thick wood, but with a laser cutter, especially the common desktop laser cutters, that limit is restrained to a few millimeters, ideally < 20 mm (3/4 inches).
Best Wood for Laser Cutting
Wood is diverse, and while many types are laser-compatible, not all yield optimal results. Here, we’ve categorized the best woods for laser cutting and engraving into three distinct classes: hardwood, softwood, and engineered wood.
Best Softwood for Laser Cutting and Engraving
Softwood is among the simplest woods to handle. It has a light shade, is more affordable, and weighs less compared to others. Yet, its mix of soft and tough grain can pose cutting challenges. Resin and knots add to these issues. Also, softwoods aren’t weather-resistant, so will need coatings.
Alder
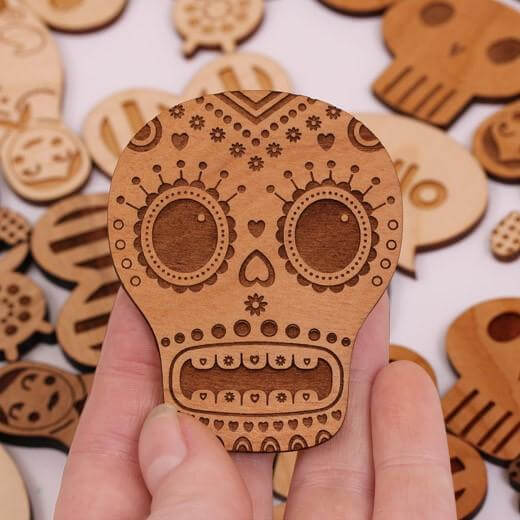
Alder Engraved Skull ©OnlineLaserCutting
Alder is known for its light brown tan which changes to a darker reddish-brown when exposed to air. Its grain is straight and even.
When engraved, it offers a contrasting shade. Its smooth texture makes it ideal for detailed work.
Basswood
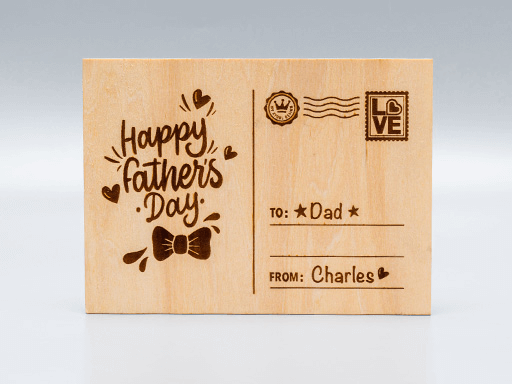
Laser-engraved basswood Father’s Day Card
Originally it comes in light brown or pale white shade. When engraved, the shade darkens and the engravings get more prominent and visually appealing.
A 20W diode laser, xTool S1, can slice its 10mm thick sheet in a single pass. Whereas, you may cut through a 15mm sheet with a 40W diode module.
Cedar
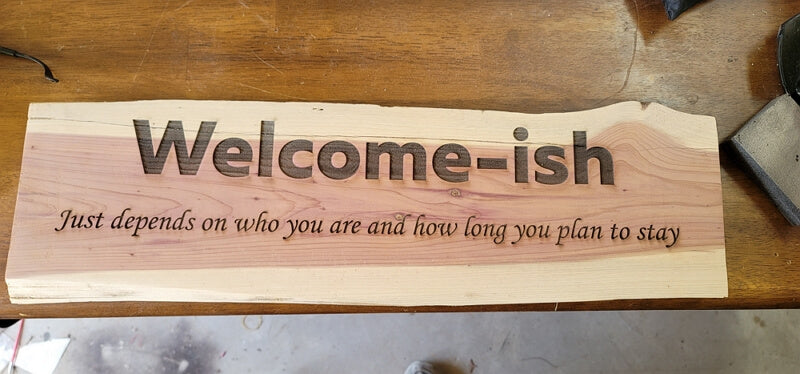
Laser-engraved cedar sign
Cedar is recognized for its reddish hue. It has a straight grain pattern with some irregular knots.
Engraving on Cedar gives a deep, dark shade. Its aromatic scent and natural resistance to decay make it an ideal option for an artisan’s favorite material for crafting.
Balsa
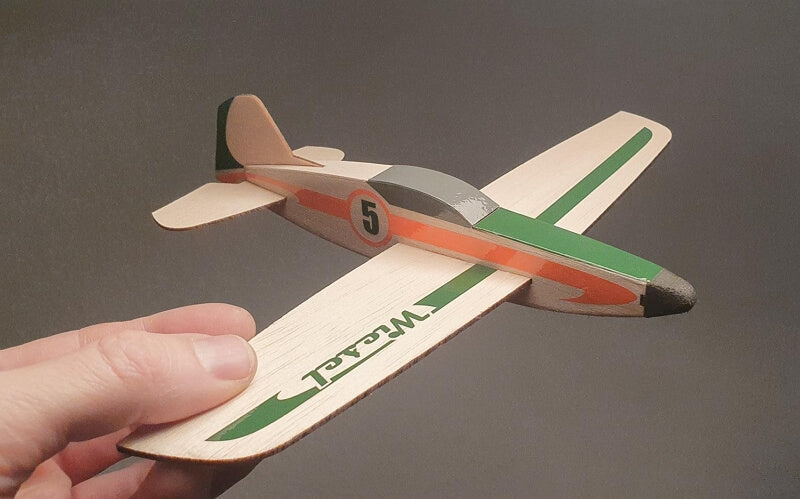
Laser-cut balsa aircraft ©MrBeamLasers
Balsa is the lightest of all, with a density of just between 7 – 9lb/ft3. This makes it ideal for applications where lightweight material is crucial, such as model building. It is also used in insulation, floats, and other applications where light but relatively strong wood is required.
It’s also inexpensive, soft, and bears a reddish-brown hue with straight grains and a fine, even texture. So, it produces great engraving results; a 20 to 30W laser module is sufficient for cutting it.
Pine
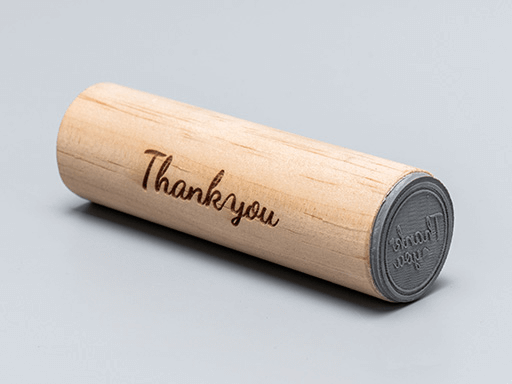
Laser-engraved pinewood rubber stamp
Pine has a prominent grain which may be wavy or straight, with a medium to coarse texture. Pine naturally has a pale yellow or white color. It is quite hard despite being categorized as a softwood. Being durable, it is a popular choice for flooring, paneling, and joinery.
When cut with a laser, you get a black border while engravings are dark brown.
Poplar
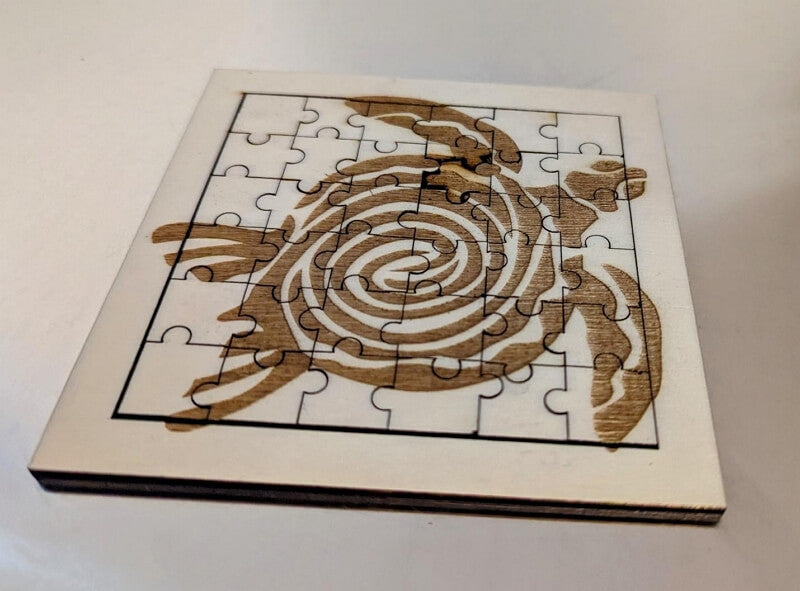
Laser-cut poplar jigsaw puzzle ©arno.buecken via Designfind.com
Poplar comes in different hues, from creamy yellow to blackish brown. Another lightweight wood, with 22 to 31lb/ft3. The wood is straight-grained and has a uniform texture. Its engraving results are similar to pine; you get a black to dark brown tone.
As per technical definition of hardwoods (an angiosperm tree), poplar falls under the hardwood category. However, its hardness is much less than the hardwoods but is comparable to those softwoods, so we’ve placed it in this category.
Poplar is commonly used for crafting furniture, toys, and personalized items. It does produce noticeable smoke when cut with a laser so you need to have an exhaust system in place.
Best Hardwood for Laser Cutting and Engraving
Hardwoods usually are dark in color and dense. They need more laser power, but the engravings are sharp. They cost more, but their weather resistance ensures longevity, making them a worthy investment. Laser work with hardwoods can produce fumes, so good ventilation is required.
Birch
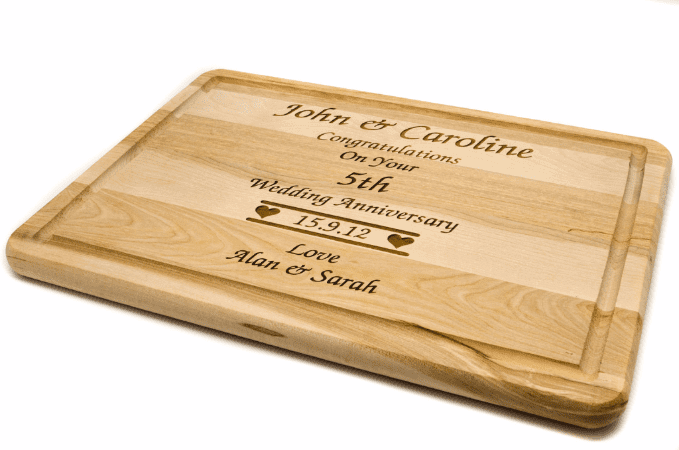
Laser-engraved birch chopping board
Birch has a fine and even grain which is ideal for laser engraving. You may identify it from its pale yellow to white color, often with a reddish tint.
The engraved results are pretty much clear with dark brown shades.
Birch is popular in the wood-turning industry for making toys, dowels, and broom handles. However, it degrades easily and thus requires a coating.
Cherry
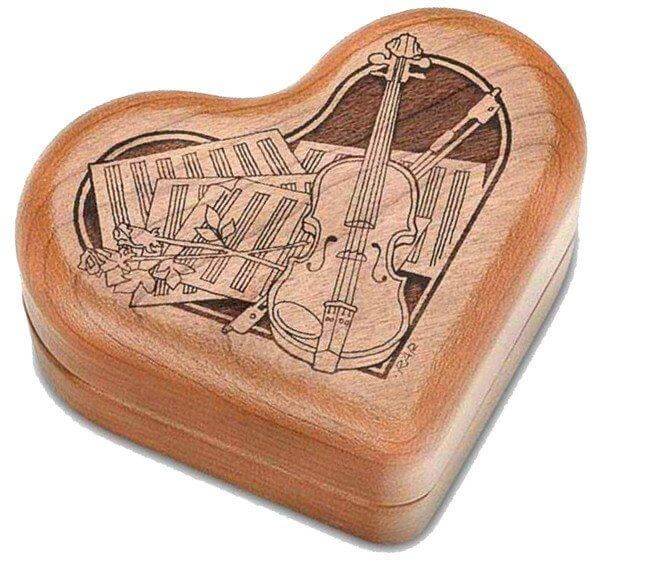
Laser-engraved cherry keepsake box ©StrumHollowMusic
Cherry has a rich reddish-brown color which darkens over time. The grain is fine and frequently wavy which can give a unique finish when engraved. This makes it a great choice for furniture.
It has a high grain density, approximately 43 lb/ft3. A 40W laser can cut through 18mm cherry wood in a single pass.
Maple

Laser-engraved maple cutting board ©angelinafinlaw via Designfind.com
Maple is light brownish with shades of gold. It features a wavy grain evenly distributed. It is strong with a smooth surface finish. This makes it a popular choice for kitchen utensils.
Mahogany
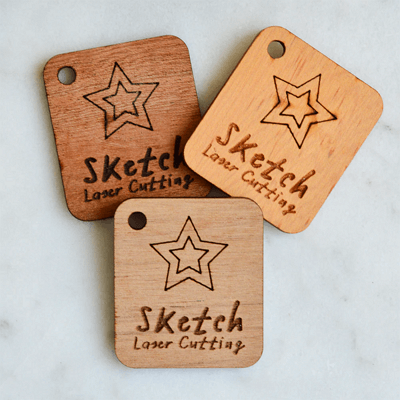
Laser-engraved Mahogany ©SketchLaserCutting
Mahogany, reddish brown in color, has irregular patterns; you may find it straight, wavy, or interlocked.
The engravings are more dark and prominent and you will get black lines in irregular-grained sections.
The wood also doesn’t give off a scent so it can be used for kitchen and dining projects. However, it’s a luxurious wood and a bit pricy.
Oak
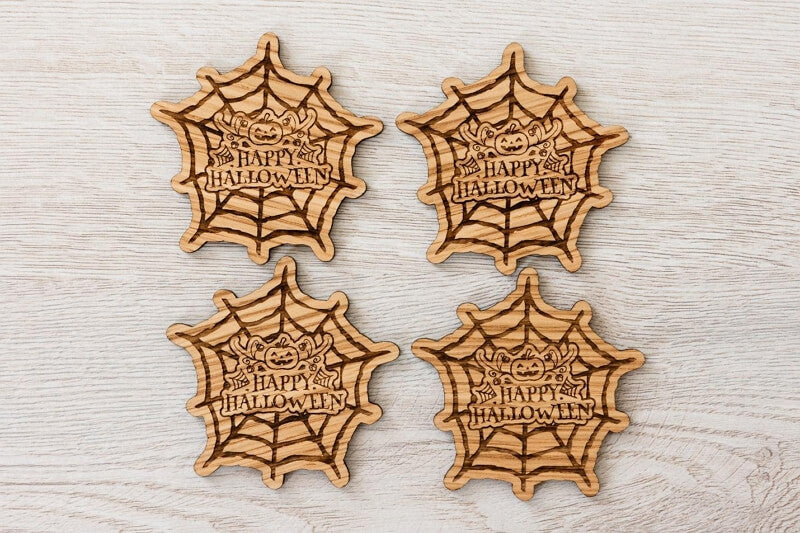
Oak Halloween Coasters ©Darren via Designfind.com
Oak is visually appealing wood due to its tightly packed ring patterns. Naturally, it comes in a light to reddish brown color. However, you can easily stain with any shade you like.
It is one of the woods that has a fragrance people love. Its laser engravings are dark brown to black, making clear and distinct designs.
Walnut
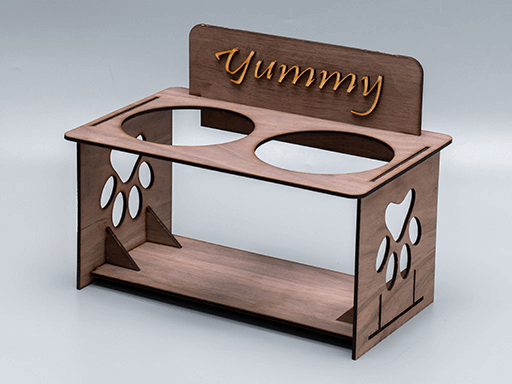
Laser-Cut Walnut Cat’s Bowl Tower
A Walnut is a chocolate brown wood with straight but irregular grains. Since it is itself dark, engraving won’t be prominent until you engrave a little deeper.
Best Engineered Wood for Laser Cutting and Engraving
Engineered woods are artificially made by gluing wood slices. From engineered woods available in the market, only choose the one that has a laser compatibility tag.
Laser Plywood
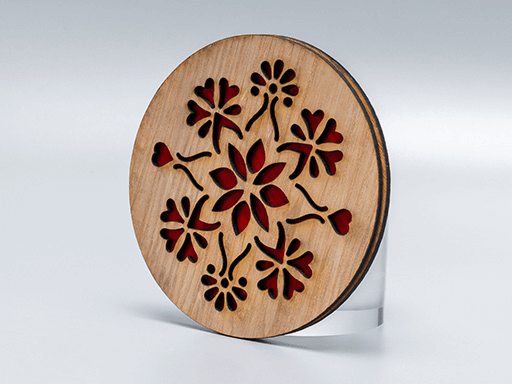
Laser Plywood Coaster ©xTool Projects
Laser plywood are specially designed layered wood for laser cutting. They have wood veneers with evenly distributed grain for great laser compatibility.
The appearance varies on the wood sheet. The common plywoods for laser cutting are birch, hoop, bamboo, and beech. The cutting and engraving results are quite neat on plywood.
A 20 to 40W laser cutter would be enough for cutting up 10mm plywood. However, plywood contains chemicals that will cause fumes when burnt. Set up an exhaust system before using them.
Laser MDF
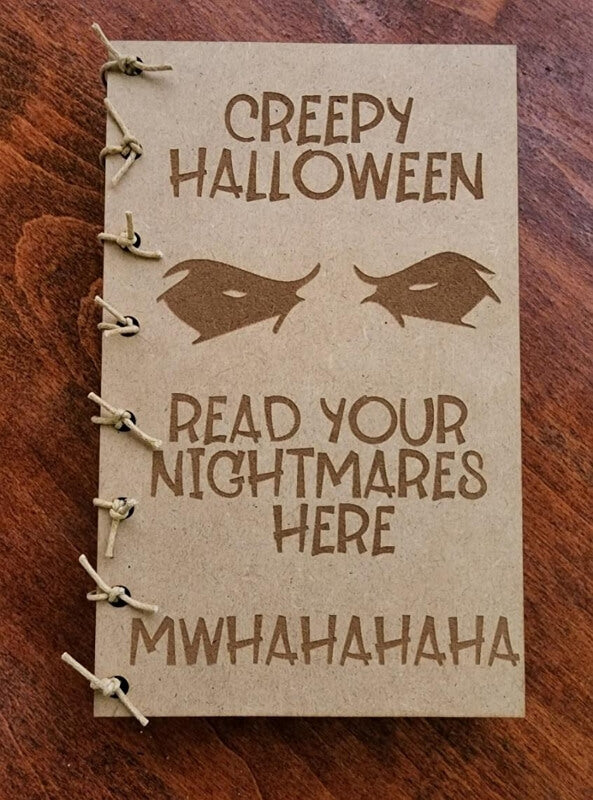
MDF Storybook Laser-engraved ©xTool Projects
MDF doesn’t have a directional grain found in natural wood. However, you may paint or stain after or before engravings.
MDF engravings are brown and very prominent. However, since they’re glued, MDF will emit non-toxic fumes. You need to have a ventilation and exhaust system in place when laser cutting/engraving them.
Woods to Avoid or Use with Caution for Laser Cutting
Some types of wood are either not suitable for laser cutting or produce fumes that can be dangerous. So, you need to be cautious when dealing with such materials. Some examples are
Plywood with Formaldehyde Glue: Plywood is often bonded with glues that can release toxic fumes when cut. Specifically, formaldehyde-based glues can be hazardous when laser cut.
Treated Lumber: Woods that have been treated with chemicals or preservatives can release toxic fumes when cut with a laser.
MDF (Medium Density Fiberboard) with Formaldehyde Glue: MDF often contains formaldehyde, which can release toxic gases when laser cut.
Coniferous Woods (Larch and Fir): These woods, like many coniferous varieties, have uneven grain structures. There’s an irregular pattern of hard and soft grains, which makes it difficult to set laser parameters and engrave them properly.
Conclusion
We have covered the best woods for laser engraving and cutting. Among them, basswood, balsa, pine, and alder are the best choices for beginners. Their light hues not only enhance the engraving visibility but also yield impeccable cutting results, especially when paired with the guidelines and techniques we have highlighted.
For enthusiasts looking to source top-quality materials, the xTools store has a collection of premium plywood tailored for laser cutting. So, why wait? Explore these wood sheets, and elevate your wooden crafting journey to unparalleled heights.


