Block Printing for Beginners: How-To & DIY Ideas
Centuries before the advent of digital printing, the art of stylizing fabrics was mastered through block printing—a technique where designs were carved into wood, inked, and stamped onto fabric.
The Egyptians were pioneers of relief printing as early as 500 BC. Later the technique spread to other parts of Asia, where it was used for creating intricate artworks. In the West, the development of moveable type printing press was also inspired by the block printing method.
This article offers a modern approach to the ancient craft of block printing, aimed at beginners looking to embrace this tradition. It outlines how the process can be expedited and simplified with the help of laser engraving machines.
In This Article
- What Is Block Printing?
- Types of Block Printing Techniques
- How To Block Print With Laser Engraving?
- Block Printing Ideas and Applications
- FAQs on Block Printing
- Conclusion
What Is Block Printing?
It is the oldest of the basic four printmaking techniques. In simple terms, block printing is the art of transferring designs onto a surface (mainly fabric or paper) through a carved block of material, which resembles a stamp. Since the surface of the block is removed (carved), and the raised edges are used for printing, this method is also called relief printing.
In the traditional block printing process, a mirror image of the design is carved onto the wooden block through hand tools. It is then inked and pressed onto the material. Once made, the same block can be used for copying the design onto multiple items.
Types of Block Printing Techniques
Block printing is further classified into three types based on the matrix (medium) used for transferring the design:
Woodblock Printing
Wood was the first choice, back when the method emerged. Woodblock printing is still very popular. Apart from the particular design carved, the wood itself adds texture to the designs due to its grains.
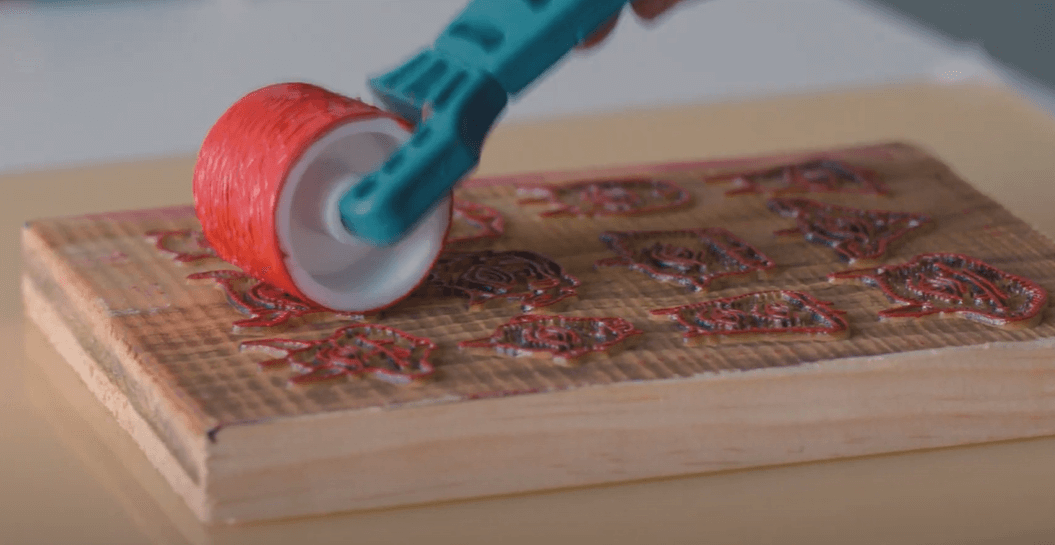
Linoleum Block printing

Linoleum is relatively a new method, introduced in the 20th century, as a cheaper alternative to wood printing. Linoleum is a composite material made from linseed oil, cork dust, wood flour, and jute backing. It has a smoother surface without grains and is easier to carve than wood. This ease of carving helps in creating intricate designs with less effort and is particularly suited for beginners.
Rubber Stamp
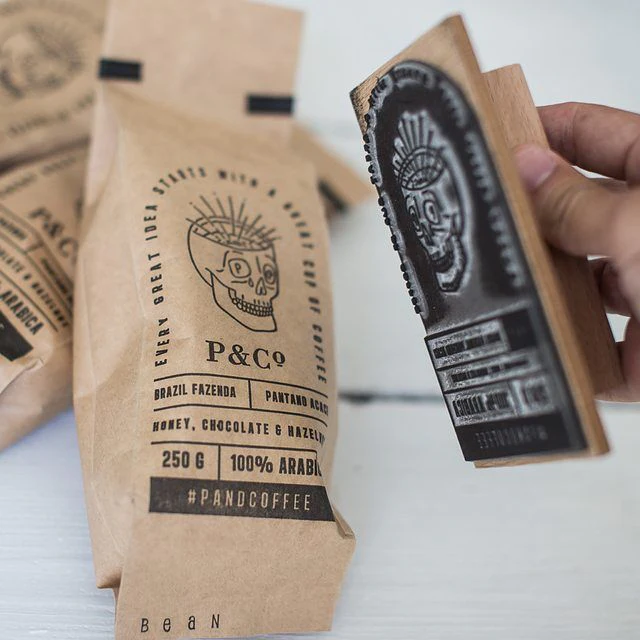
Rubber stamping is widely accessible and is often used for crafting, decorating, and even in business for stamping logos or addresses. Rubber stamps can be custom-made with laser engraving or purchased with pre-designed motifs.
How To Block Print With Laser Engraving?
The most important phase of block printing is carving the design onto the block. Although hand tools exist, that takes time and more effort, especially if you’re a beginner. Furthermore, manual carving demands a steady hand and a keen eye for detail to ensure precision and the desired depth in the design.
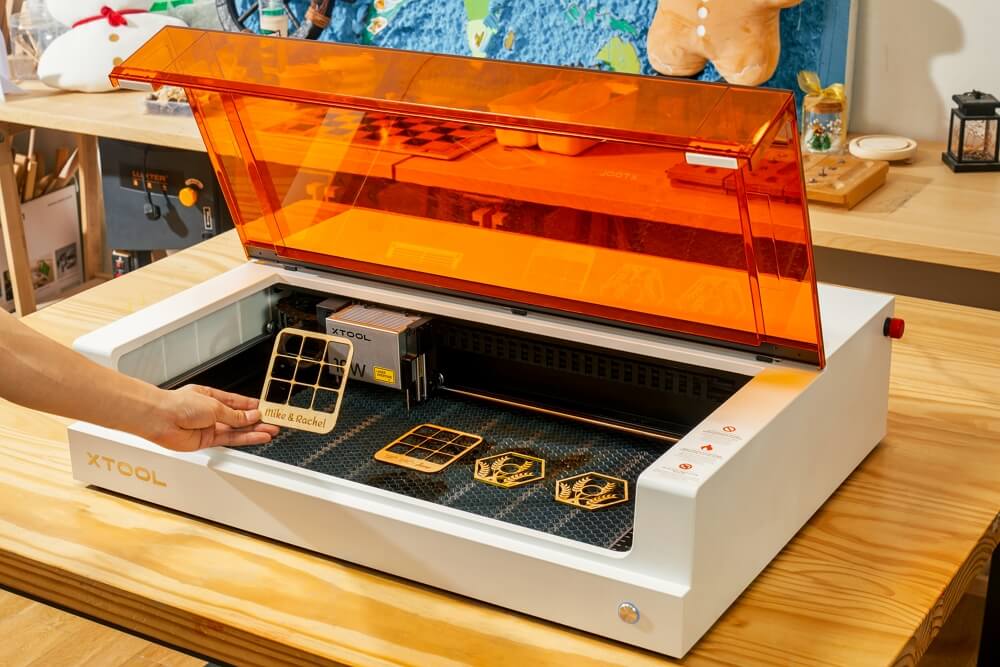
Laser engravers, particularly xTool desktop laser engravers, completely change the game. With xTool engravers, you can engrave a range of materials, including wood, rubber, and linoleum, in a few minutes.
Block printing becomes effortless with xTool laser engravers. Just place the material block inside, drag the design onto it and the laser head carefully carves the design onto the material. The laser head automatically carves and removes the material precisely on the commands of the laser control software without manual involvement. The laser beam intensity is changed dynamically to cut at different depths and achieve the desired pattern.
Materials Needed
If you’re looking to try this traditional art form, first make sure you have these materials:
1. Matrix (Block)
Your choices here include wood, linoleum, and rubber. Wood is a time-honored favorite, ideal for projects where a natural grain texture is desired. Linoleum lacks grain and is easy to carve, rubber is for simple and smaller designs.
Regardless of your choice, you won't encounter any issues with carving, as a laser engraver can efficiently handle all three materials.
2. Laser Engraver
You also need a desktop laser engraver for carving the block. Typically, these machines either have diode or CO2 technology. CO2 laser engravers generally carry more power and come at a premium price. So, they are recommended for small businesses. Diode lasers are relatively affordable and favor hobbyists. Both of them work fine when it comes to engraving wood, linoleum, or rubber.
3. Block Printing Inks
Again, there are two main options: water-based inks and oil-based inks. Water-based inks dry quickly and clean up easily with water, making them a user-friendly choice for beginners. Oil-based inks, on the other hand, take longer to dry, which can be advantageous for blending colors or achieving more vibrant prints.
4. Material for Printing
Fabric and paper are the common choices for block printing. For paper, opt for varieties with a subtle texture that will capture the finer details of your design without distorting it. This will ensure that smaller lines and textures are visible, enhancing the intricacy of your print.
Printing on fabric generally mirrors the process on paper. However many find it easier to do so because fabric readily absorbs and holds the block within its place without any slippage.
BlockPrinting Process with Laser Engraving
You can follow these few steps to block print with a laser engraver:
Step 1: Creating Digital Design
If you possess a flair for artistry, you have the option to craft your own design using graphic design software. Alternatively, you can choose from those free engraving files available online. Another innovative option is utilizing the xArt feature within the XCS software – it allows for the generation of AI-enhanced patterns tailored to your project's needs.
Step 2: Laser Engraving
Place your chosen material—be it wood, linoleum, or rubber—inside the laser engraver. Next, with the design prepared, drag it onto the material’s digital representation in the software and adjust its placement accurately on the block.
Initiate the engraving process. The laser precisely carves your design, controlled by the software to ensure depth and detail are perfectly captured.
Step 3: Block Printing
After engraving, apply your chosen ink to the carved block. Ensure the ink is evenly distributed across the design's surface.
Position the block onto your printing surface, whether it be paper or fabric. Apply even pressure across the block to ensure a clean transfer of the design. Carefully lift the block off to reveal your print. For multiple prints, reapply ink as needed and repeat the process.
Step 4: Drying
Allow your printed material to dry completely. The drying time will depend on the type of ink used and the material printed on. Water-based inks typically dry faster than oil-based ones. Fabric prints may require a longer drying time compared to paper.
Block Printing Ideas and Applications
After a lot of talk on the process itself, let’s explore the creative crafts you can make using this technique:
1. Block Printed Wallpapers and Hangings
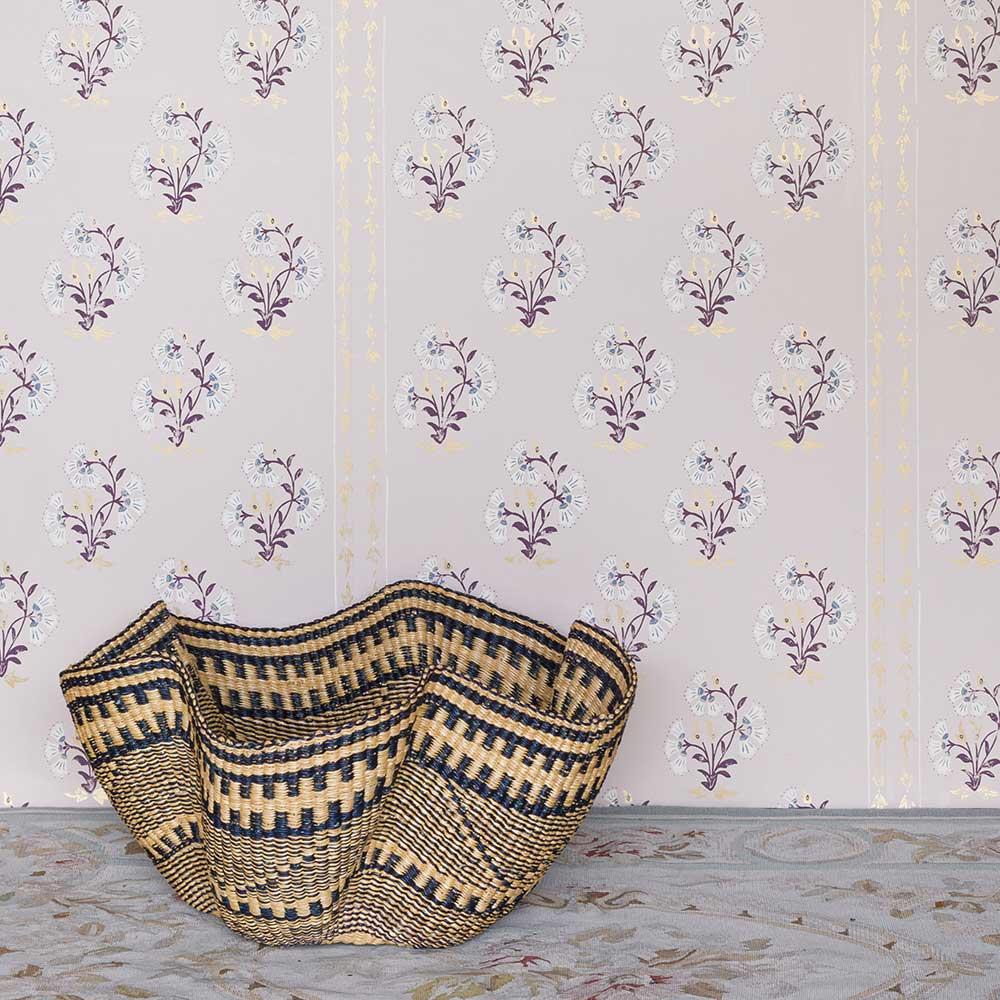
Block-printed wallpapers and hangings can add an artistic touch to any room. With it, you can create custom designs that reflect personal style or complement the room's decor. Choose a design that fits the aesthetic you're aiming for, whether it's floral, geometric, abstract, or themed patterns.
2. Block Printed Curtains
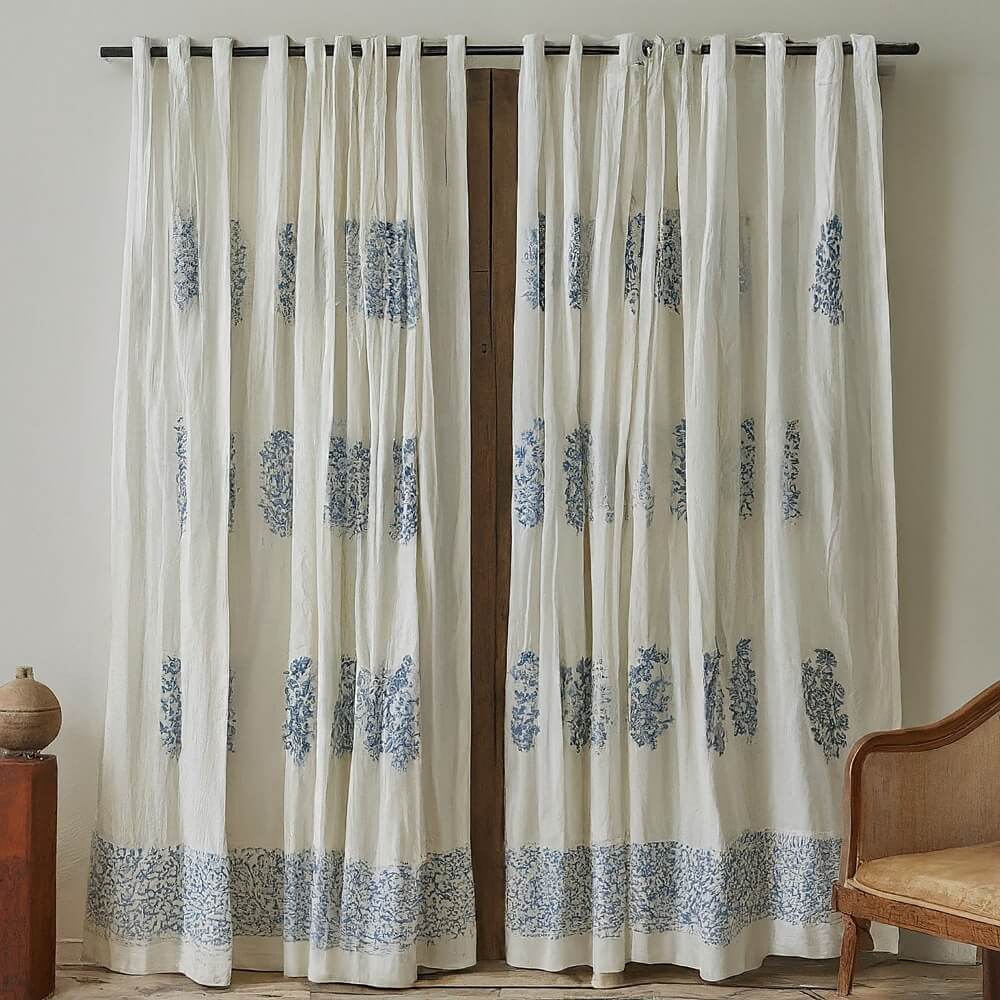
Block printed curtains offer a way to infuse your living spaces with patterns and colors that are tailored to your taste. Select a fabric curtain as your base and then block print them with designs of your choice. You can opt for simple motifs that are spaced out for a minimalist look or more intricate, densely packed designs for a bolder statement.
3. Tote Bags
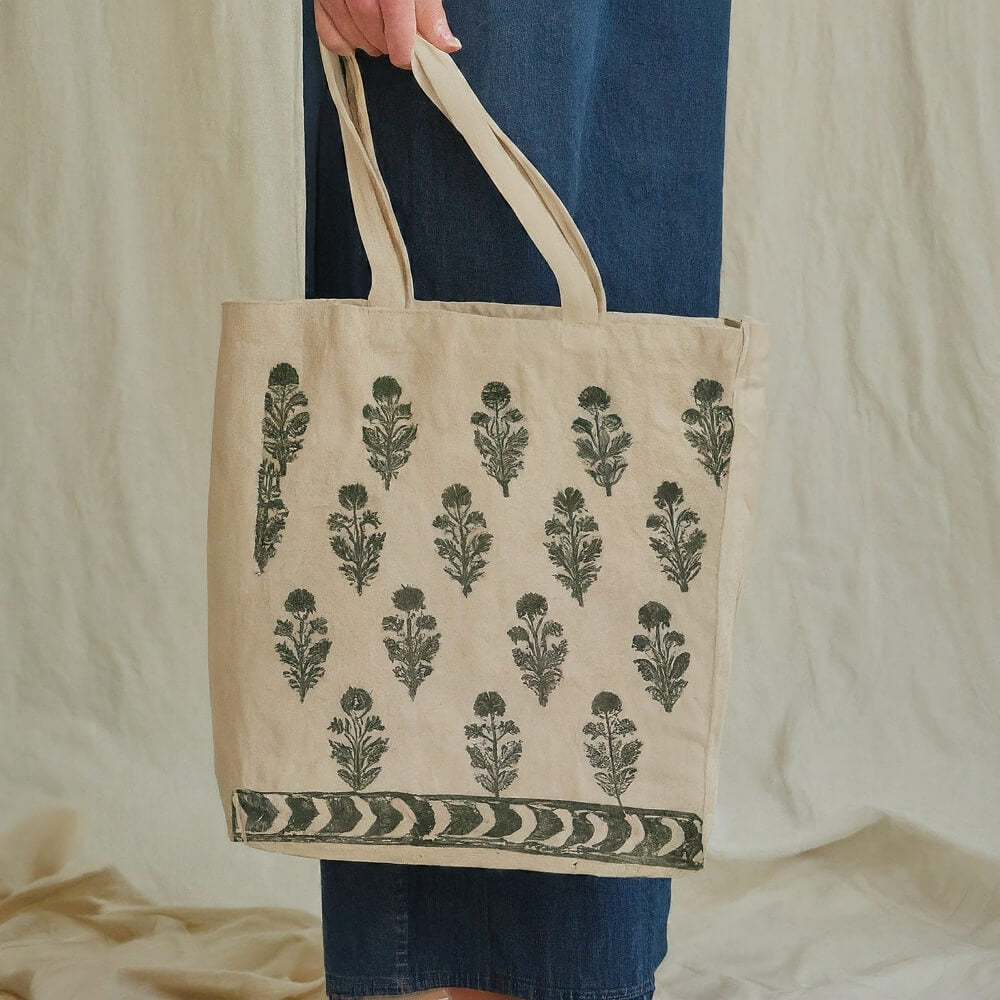
Tote bags are a perfect canvas for creativity. You can add simple brand logos or interesting expressions that spark interest and stand out.
Cotton or canvas works well for absorbing ink and showcasing detailed designs. Before printing, consider the placement of your design on the bag – Do you want it centered, on one side, or as a repeated pattern across the entire surface?
4. Greeting Cards
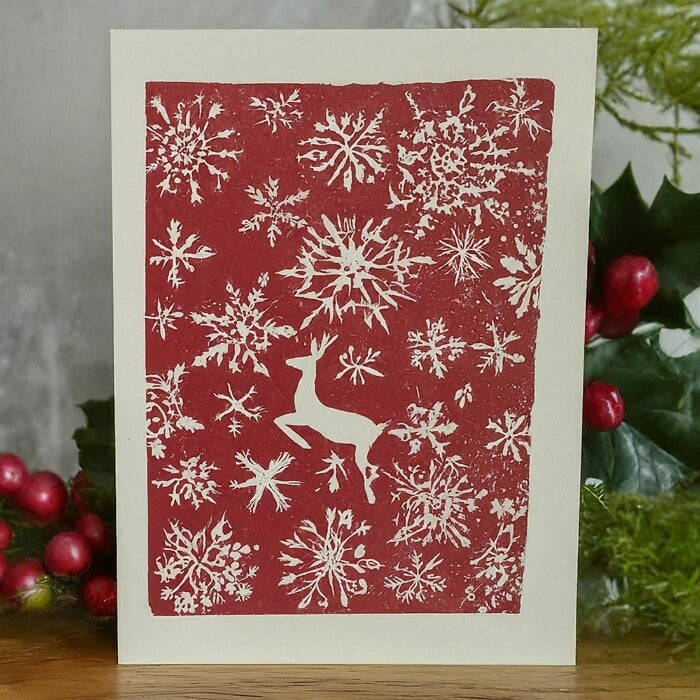
With block printing, you can create personalized and unique messages for any occasion – be it birthdays, holidays, or thank-you notes. You can experiment with different colors of ink and cardstock to match the preference of the receiver.
5. Event Posters
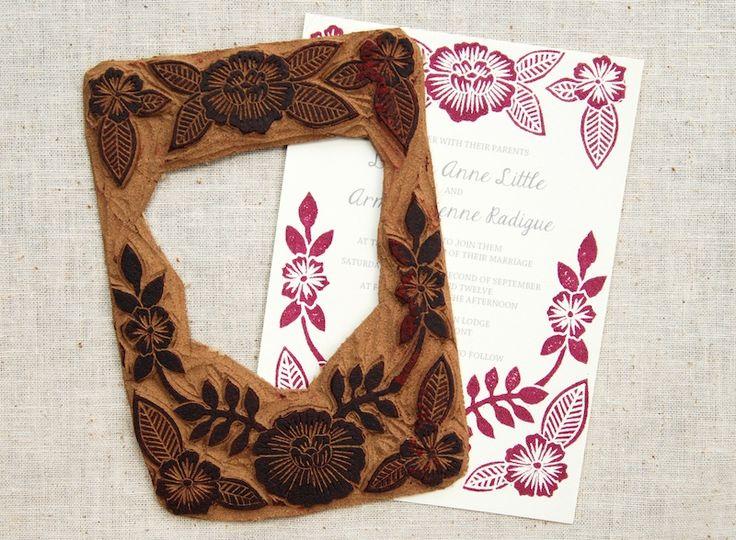
Creating event posters through block printing can give your announcements a distinctive and artistic flair, ideal for concerts, art shows, community gatherings, or special occasions. This technique allows for the poster design to include unique elements that can't be easily replicated through digital printing.
6. Block Printed Lampshades
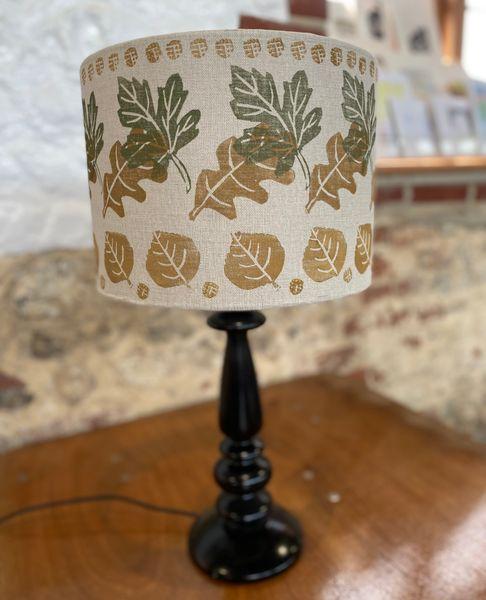
Block printing on lampshades is a wonderful way to introduce custom lighting elements into your home decor. This method can transform a plain lampshade into a statement piece with patterns that glow beautifully when the lamp is on. Fabric lampshades are ideal for block printing; just ensure the fabric ink you use is suitable for the material.
FAQs on Block Printing
How Do I Start Block Printing?
Starting block printing is relatively accessible, even for beginners. All you need is a compact laser engraver for carving the block and inks for printing onto the fabric.
Can I Use Screen Printing Ink for Block Printing?
Yes, you can use screen printing ink for block printing, although it's thicker and slower to dry compared to traditional block printing inks. It can be advantageous for adding texture and achieving vibrant color.
Conclusion
Block printing, arguably the most ancient of printmaking techniques, maintains its relevance in the modern world. What once demanded painstaking manual skill and countless hours can now be accomplished in mere minutes, thanks to advancements in technology. Laser engravers have revolutionized the process with unprecedented precision in detail and design.
If you're intrigued by the potential of this time-honored craft and are eager to explore your own creative possibilities, why not give it a try? Try xTool laser engravers today and step into the world of modern block printing.


